For this exercise I had to model a household item, map the chosen materials I am using and display the completed item onto this portfolio.
The item I chose to model is based on a unit in my living room. I chose this because I felt it was a modern design and offered a range of materials to use.
I completed my sketch of the unit as shown in fig.1. This design did not include doors as I felt it would enable me to show more of the inside and I felt it added more to the overall design. The dimensions I have used are those taken from the unit in my living room.
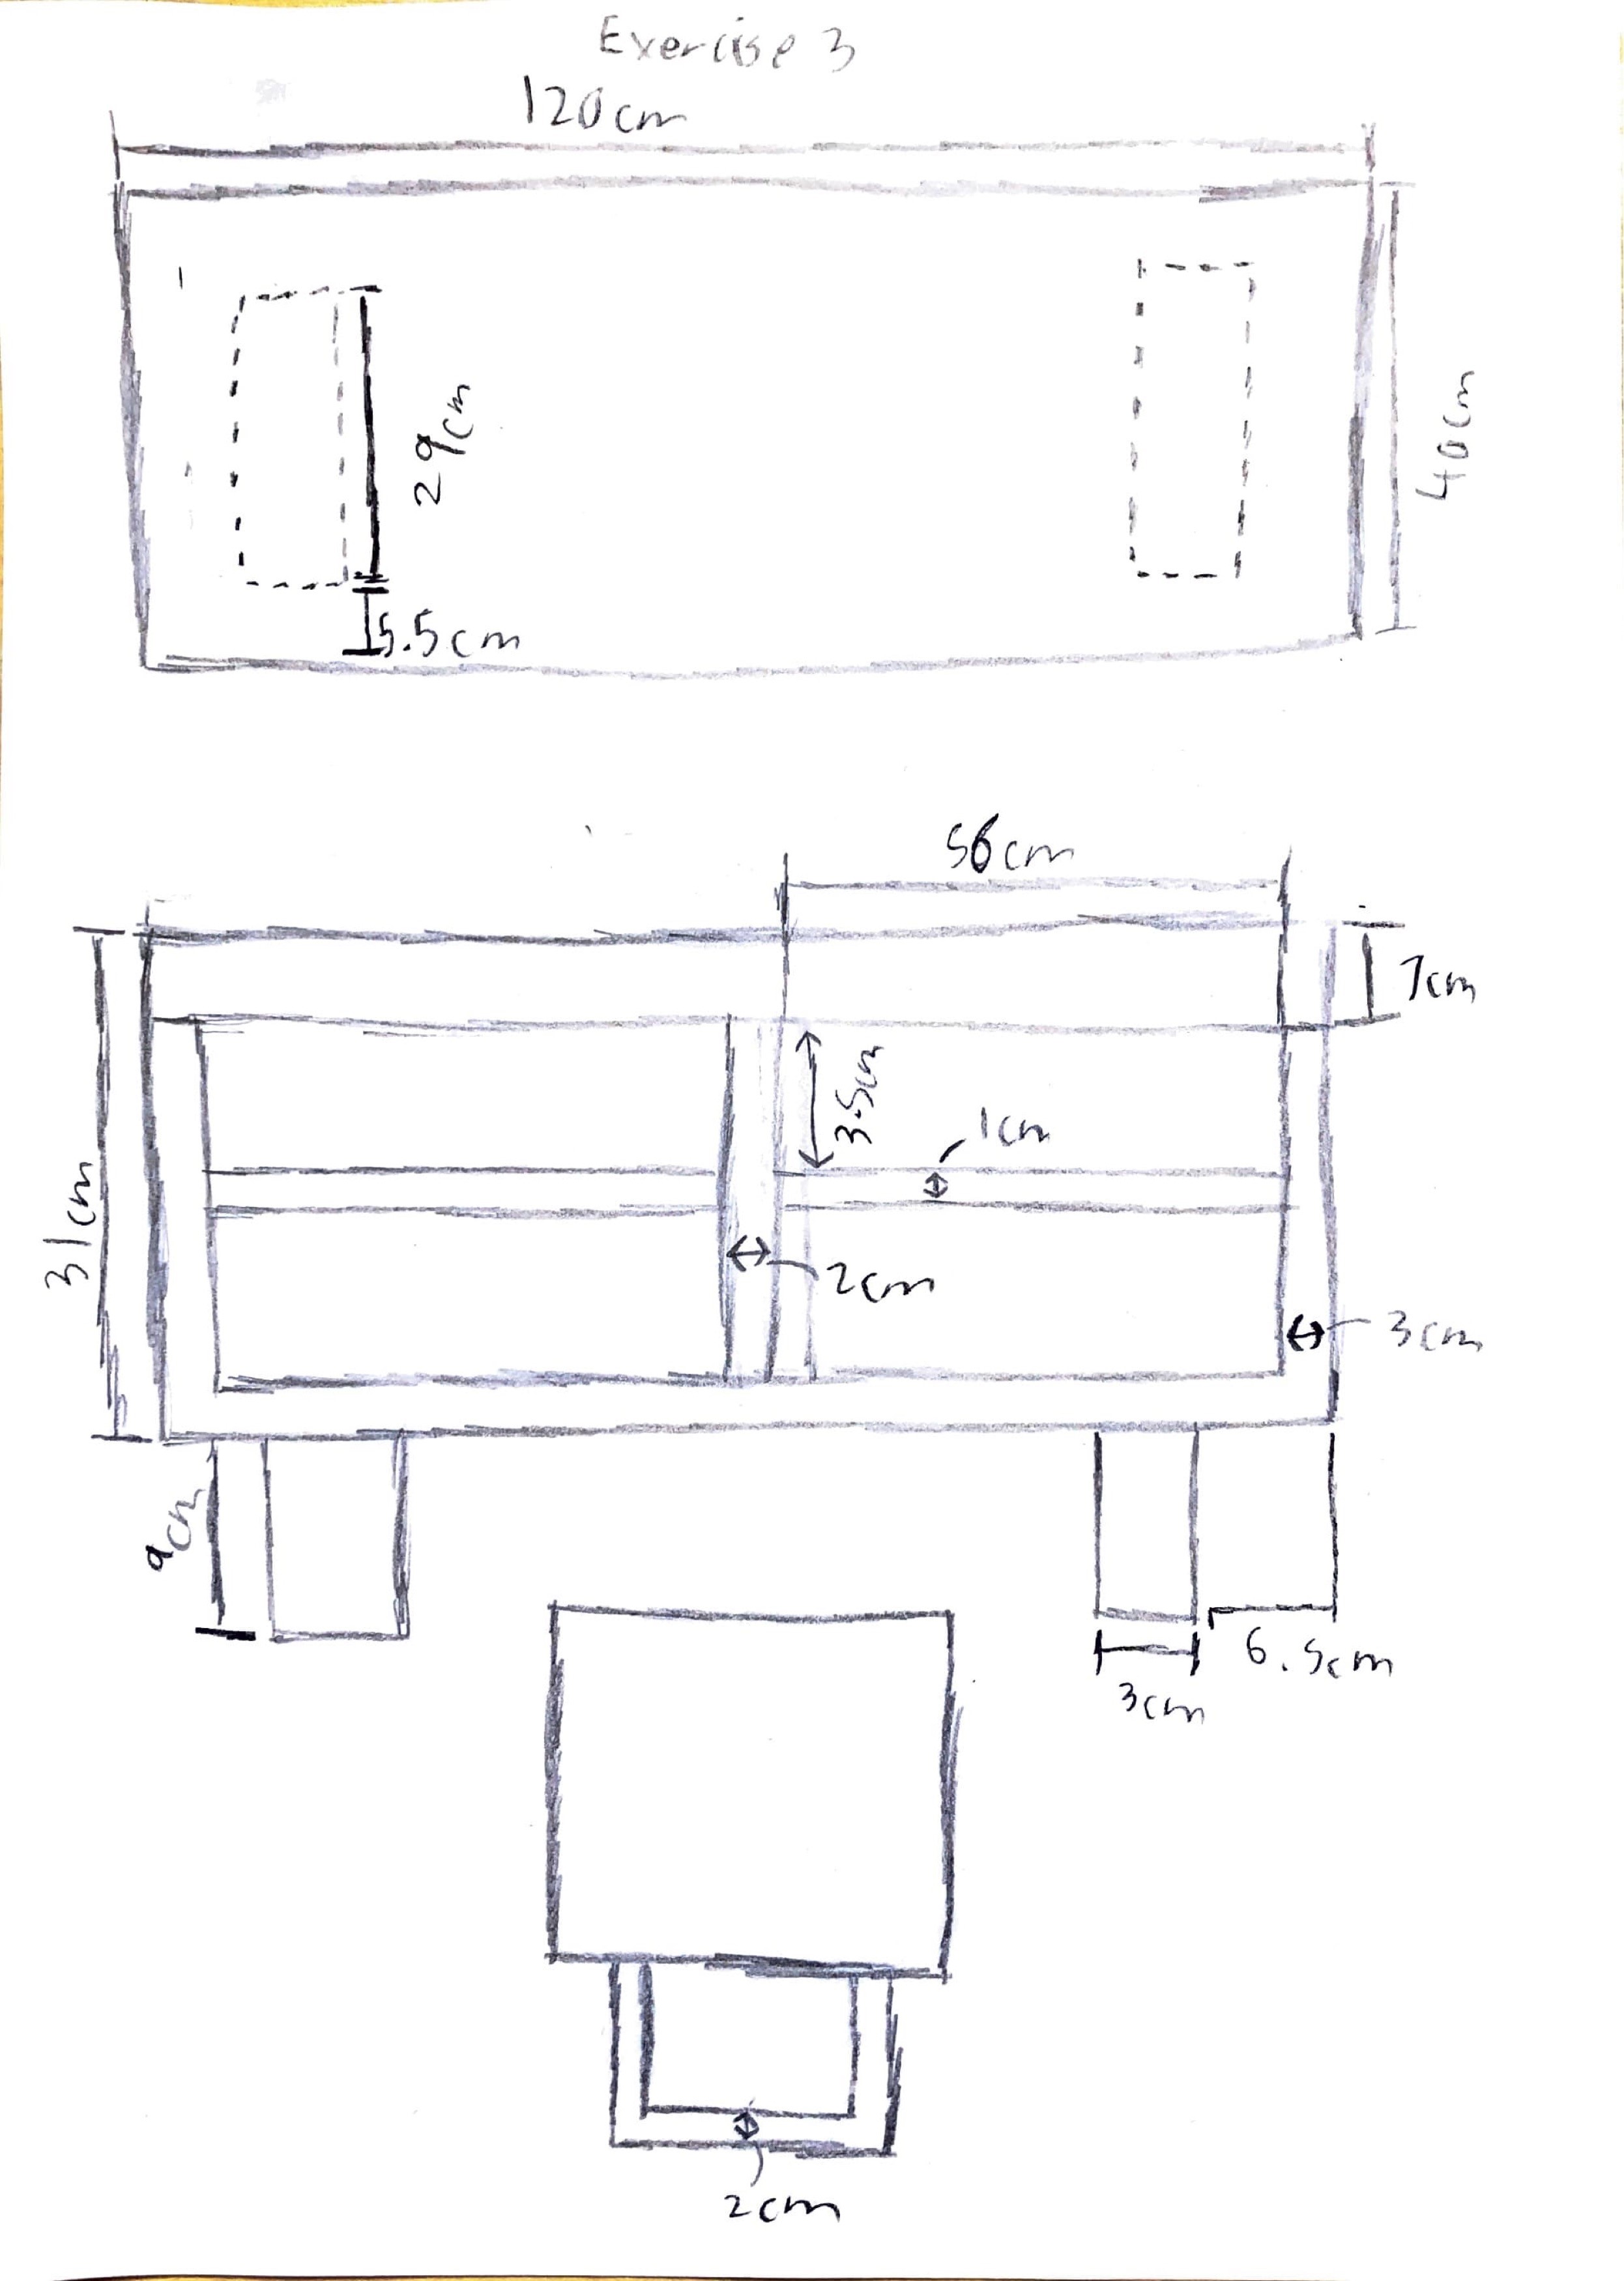
fig.1 - Sketch
Once the sketch was completed I then began to create the 3D model as shown figs.2 to 5.
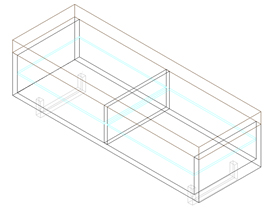
fig.2 - 3D Model Corner View
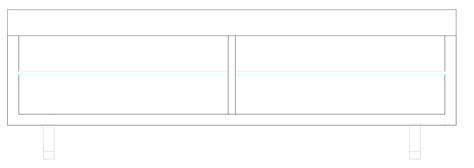
fig.3 - 3D Model Front View
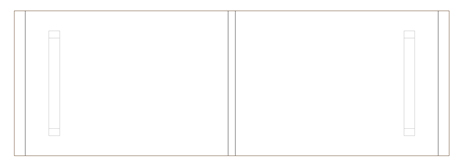
fig.4 - 3D Model Top View
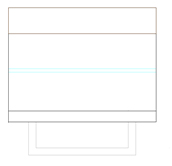
fig.5 - 3D Model Side View
After completing the model, I placed planar surfacing onto the piece as shown in figs. 6 to 10.
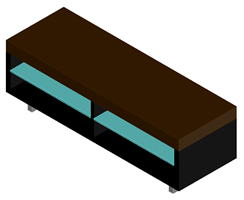
fig.6 - Planar Corner View

fig.7 - Planar Front View

fig.8 - Planar Side View

fig.9 - Planar Top View

fig.10 - Planar Bottom View
Once the last surface had been completed, I looked for materials that I felt best matched the original unit. These materials are shown in fig.11.
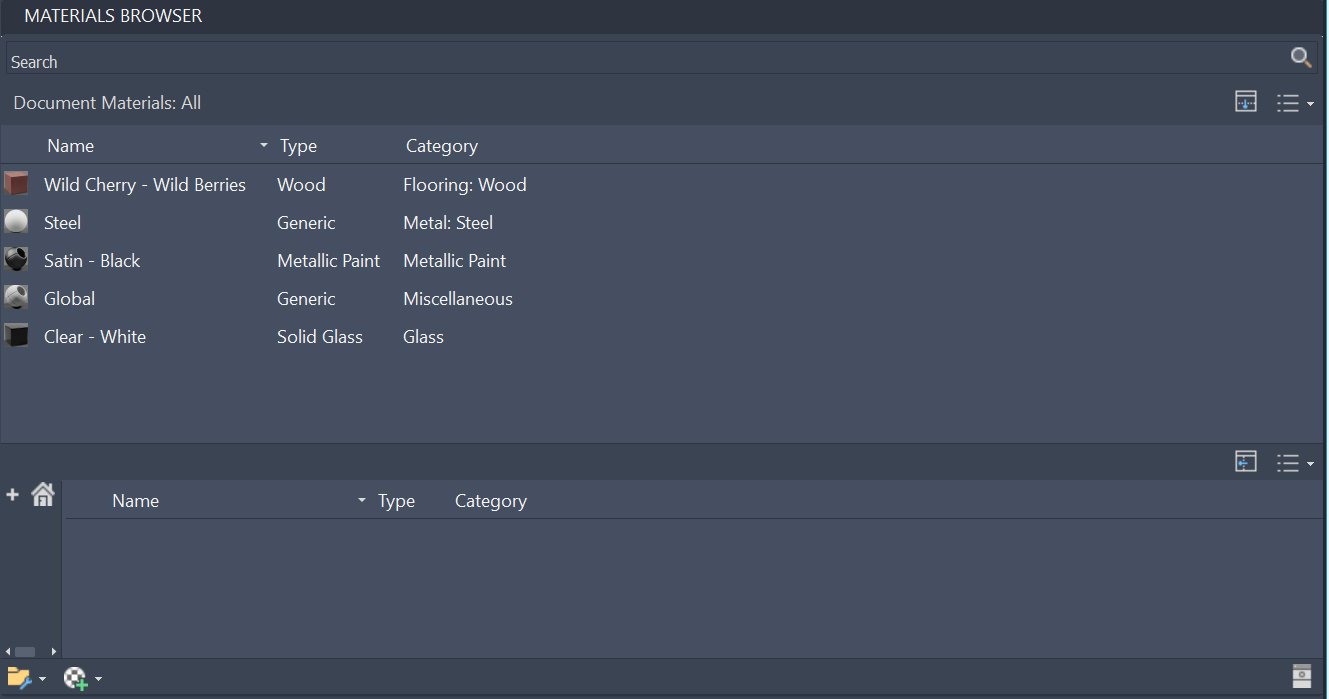
fig.11 - Materials Browsers
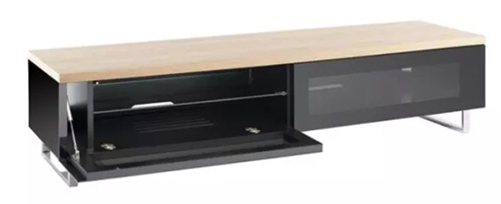
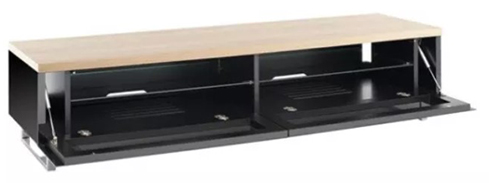
The last part of this exercise was to render the unit. From the materials I found, I used the wood for the top surface, glass for the shelving, the feet were made from steel and the body itself was made to look like satin black. These are shown in fig.12 to 16.
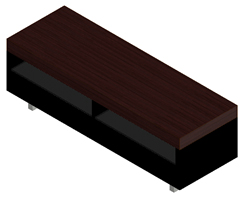
fig.12 - Rendered Corner View
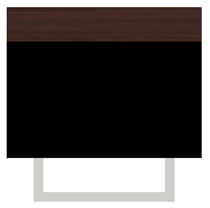
fig.13 - Rendered Side View
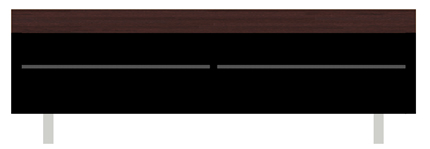
fig.14 - Rendered Front View
fig.15 - Rendered Top View

fig.16 - Rendered Bottom View