For this exercise I was tasked to make a 3D object using the 2D design shown below (figure 1) provided in pdf format, I then copied it into Fusion 360 which was the software we had to download to create a model (figure 2). After some consideration on what design I wanted, 2 options came to mind: a font from a church or a bird bath for a garden. I chose to proceed with the design for a bird bath.

fig.1 - PDF Form

fig.2 - Fusion 360 Form
My focus was to start on the base then work my way up to the top which would be a tripod shape to hold a bowl. Once this was complete, I added detail onto the piece, then the last task was to add the material.
To begin the model, I made the base which would be the big circle by extruding 5mm downwards (figure 3), then I filleted the top edge 1mm (figure 4).
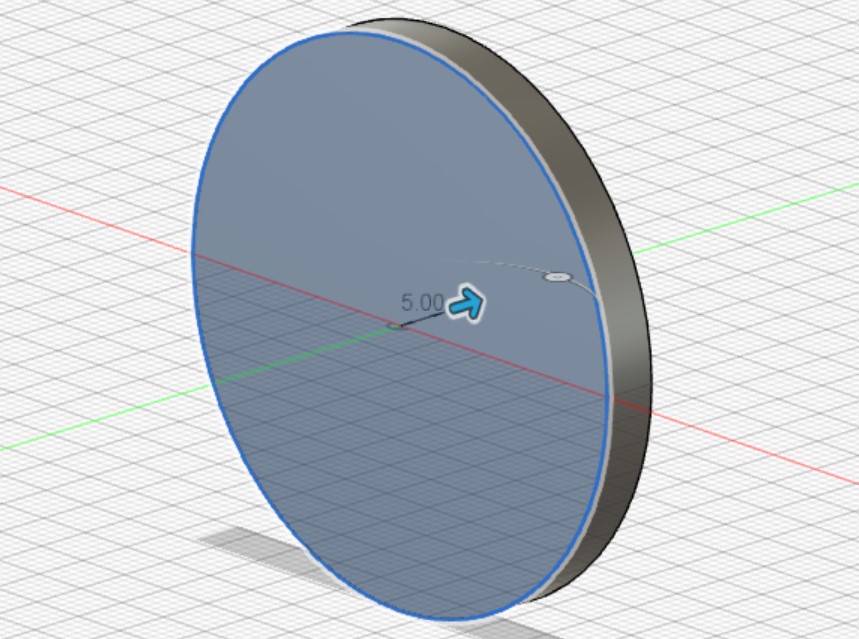
fig.3 - Base
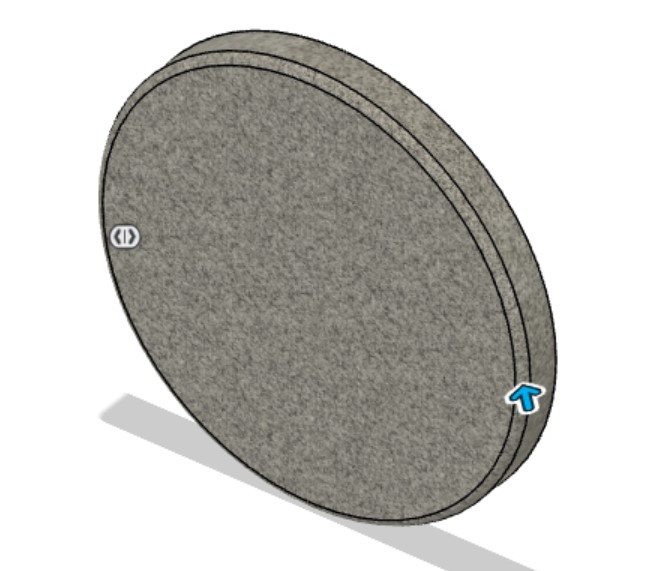
fig.4 - Base Fillet
This was then followed by the body, made with the triangle in mind. The body would be in two parts, a big triangle piece with a smaller piece to hold the neck. Both had two different details on them. The big triangle was extruded 50mm upwards to make up most of the model (figure 5) and then I filleted the edges (figure 6). The last part was to add detail onto the triangle, and this was done with cutting into it with extrude to give it an interesting look. The reason behind this was when I was younger, I used to seek the sensory feel of ornate work such as this (figure 7). I also produced the smaller triangle piece afterwards, but I changed the model midway with added detail to the bigger piece which meant the smaller triangle had to be deleted and replaced after the tripod was complete.
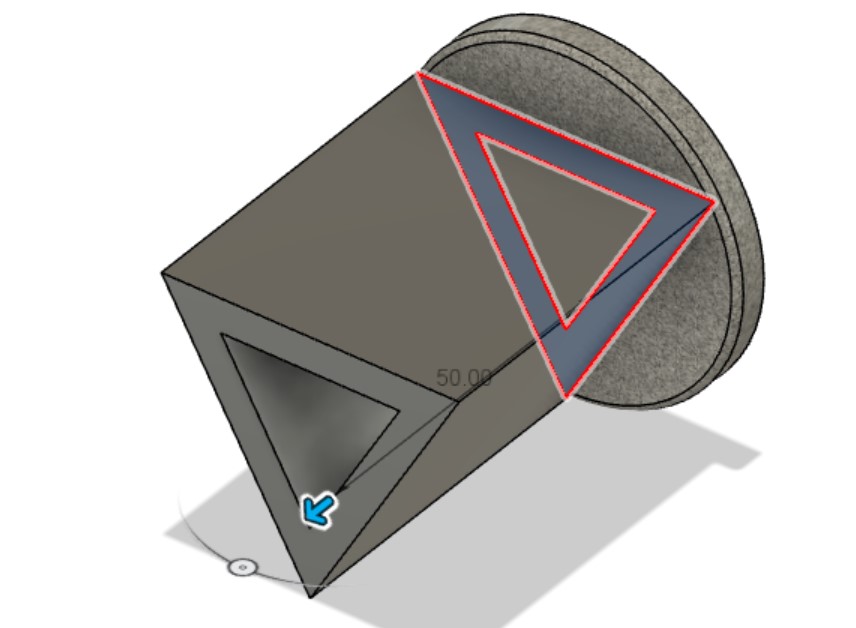
fig.5 - Body

fig.6 - Body Fillet
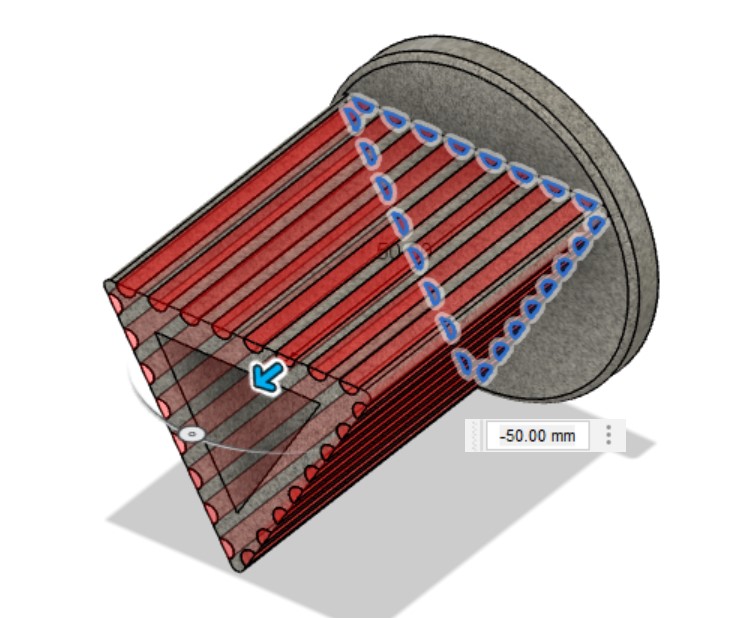
fig.7 - Body Design
The last part before the tripod was the neck (the small circle) to hold the tripod. All of these were extruded as I copied the 2D design onto fusion and I worked on them one part at a time, moving each part up after extruding (figure 8).

fig.8 - Neck
I extruded the tripod (figure 9) but then used the revolve tool to cut into the piece to create a shape to hold the bowl (figure 10).
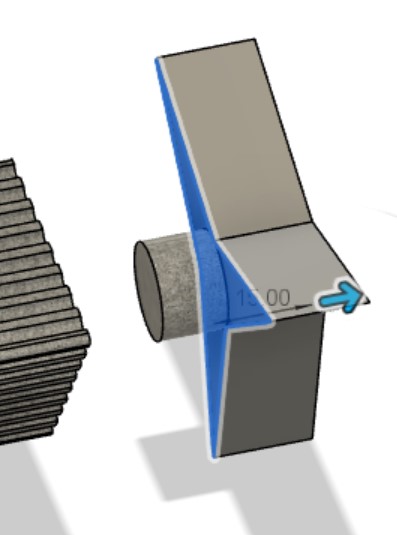
fig.9 - Tripod
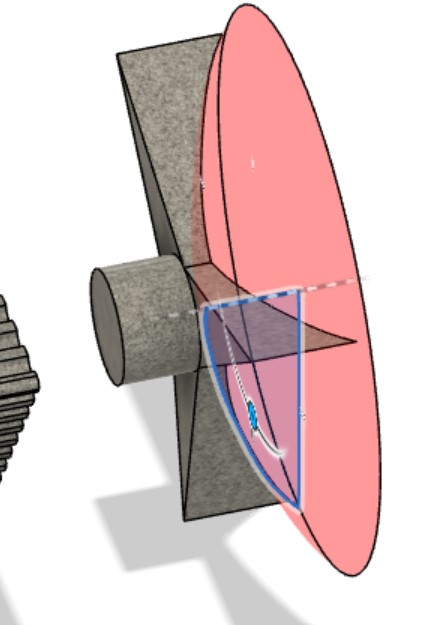
fig.10 - Holder
Once the tripod was completed, I added detail to the base using the fillet, revolve and extrude tools (figure 12) as well as rotated the model as I was working on a different plane (figure 11) and afterwards I added the smaller triangle that was removed earlier (figure 13).
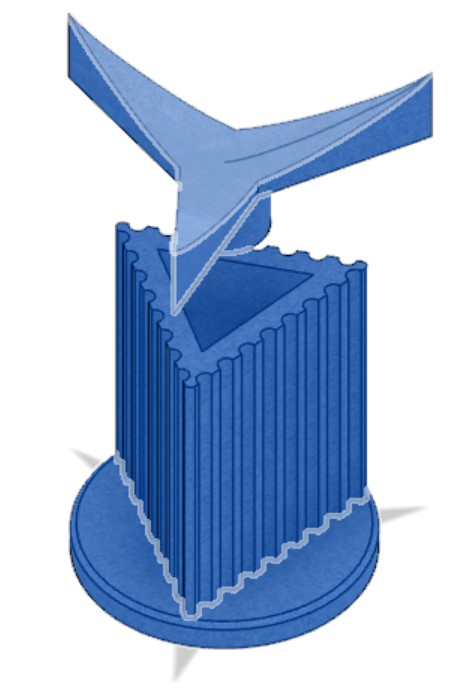
fig.11 - Position Change
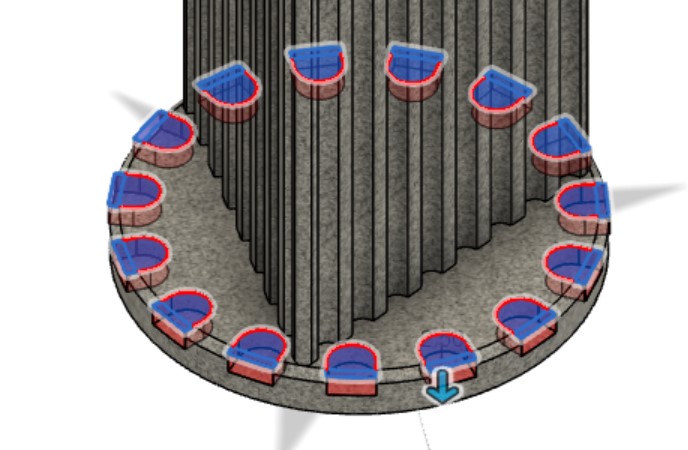
fig.12 - Base Design
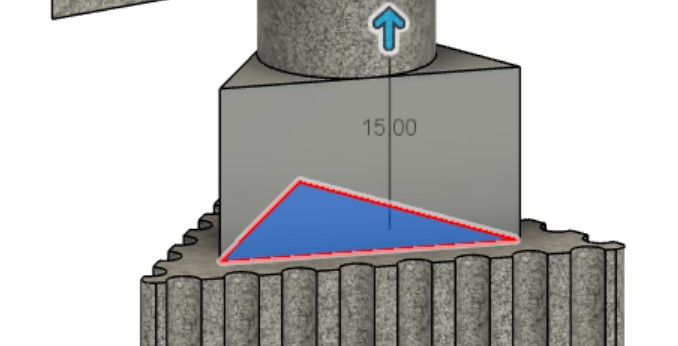
fig.13 - Small Triangle
The next part to complete the modelling was to add the bowl to the model. This was made using the revolve tool, once to create the shape (figure 14) and again to cut into the shape (figure 15).
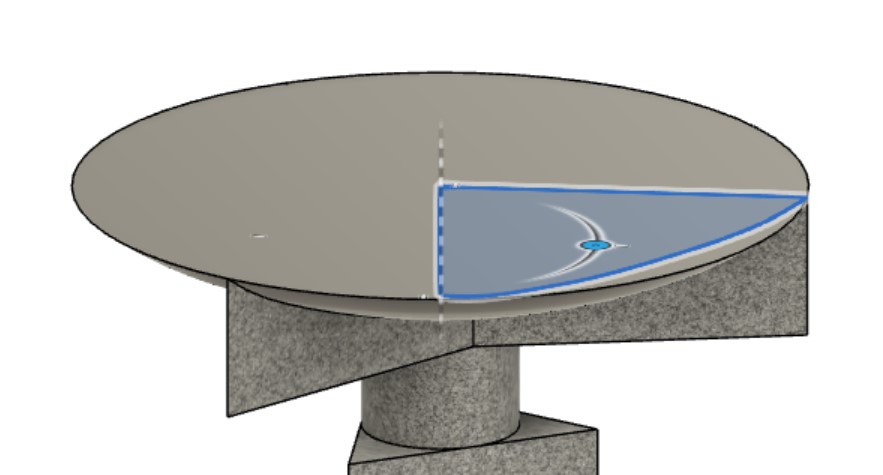
fig.14 - Bowl
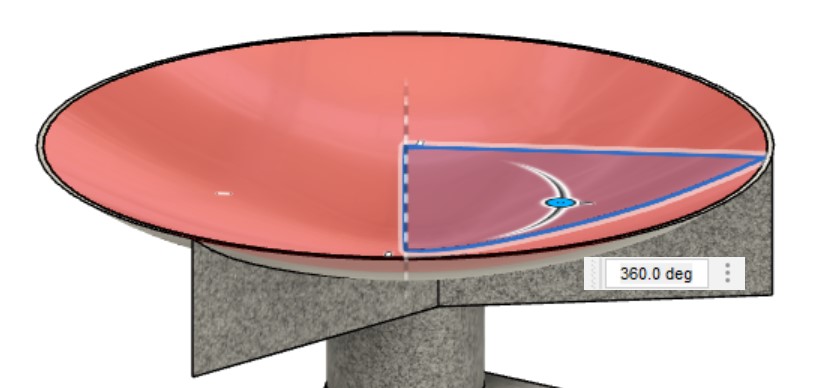
fig.15 - Bowl After The Cut
After completing the modelling, I added detail onto the piece, this was done by cutting into the model with extrude and filleting edges on the small triangle (figure 16) and cutting with revolve on the small circle (figure 17).
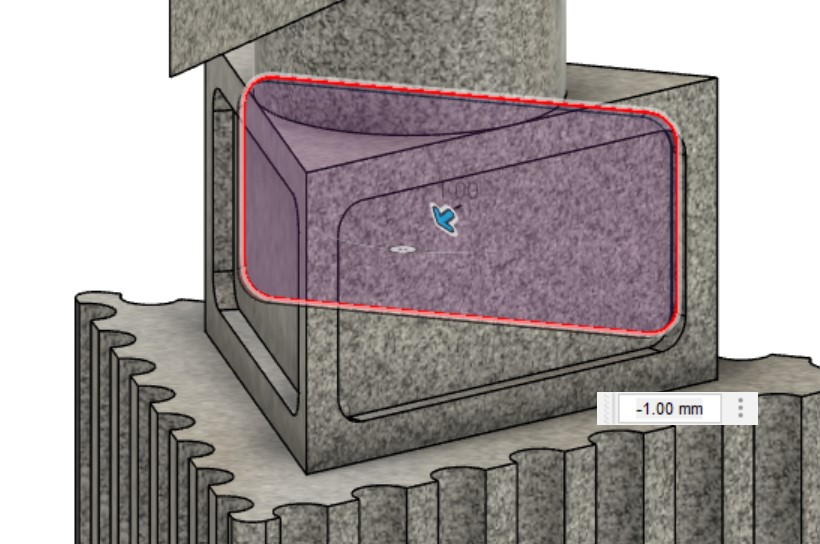
fig.16 - Triangle Detail

fig.17 - Neck Detail
The next stage for the model was to add material to the design. The Bird bath would be made from granite (black and white, see figure 18 on the right) and the bowl would be in polished aluminium (shown on the left below). The magnification of the scale was wrong for both pieces initially, but I changed that with editing and scaling them down.
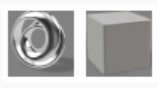
fig.18 - Materials
These are the animations I have created. The first is the timeline of how the model is created, using PowerPoint to record and Movavi Video Editor Plus to edit and the other is the model itself that breaks into each part and then finish as its 2D shape.