Semester 1
For my third year, I was aiming to complete a personal project of creating models on a hobby based on Warhammer 40k on Fusion 360. This would lead on to advanced models as can be seen on my social media page on this portfolio. Ideally, I would have started this during summer holidays which could have allowed time to paint the models. Instead, I focused on my negotiated work placement with the intention of addressing the models in the Autumn. For my client project, I was intending to help produce 3D printed models from a university project called virtual cities to show at the university transmedia show. The plan was to double-check if the models could be printed with all the details intact and then send them to the 3D printer.
However, in Year 3, plans had to be adjusted due to extra time spent agreeing a dissertation topic and delays with my business project. Issues with my health and my living/working environment caused further delays to my work schedule meaning that I had to change focus from creating models and instead prioritise my other projects.
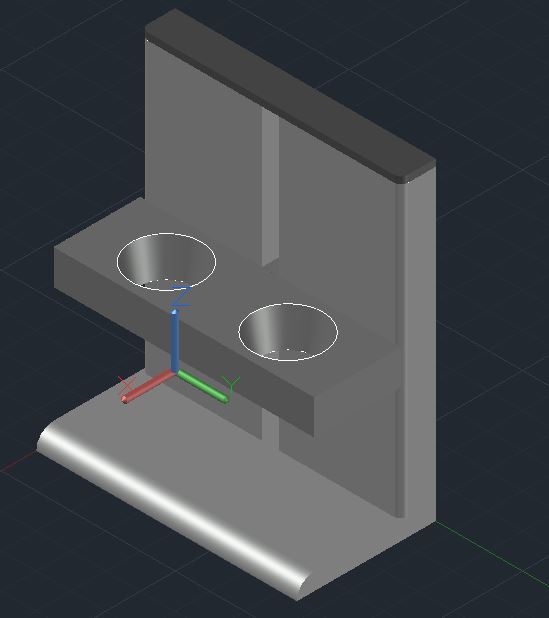
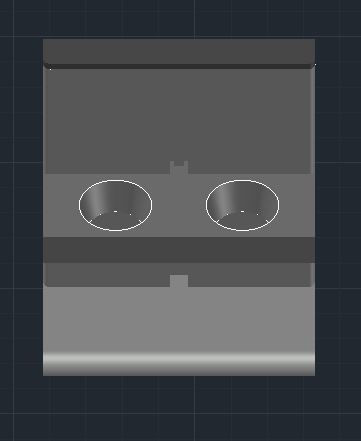
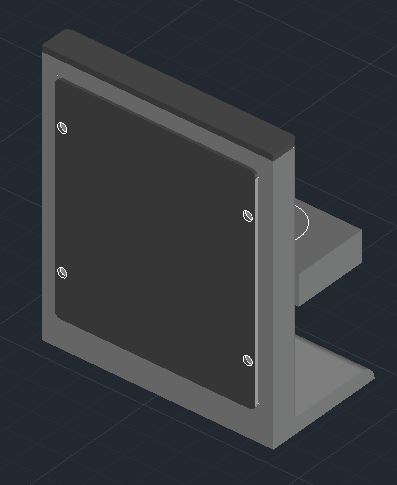
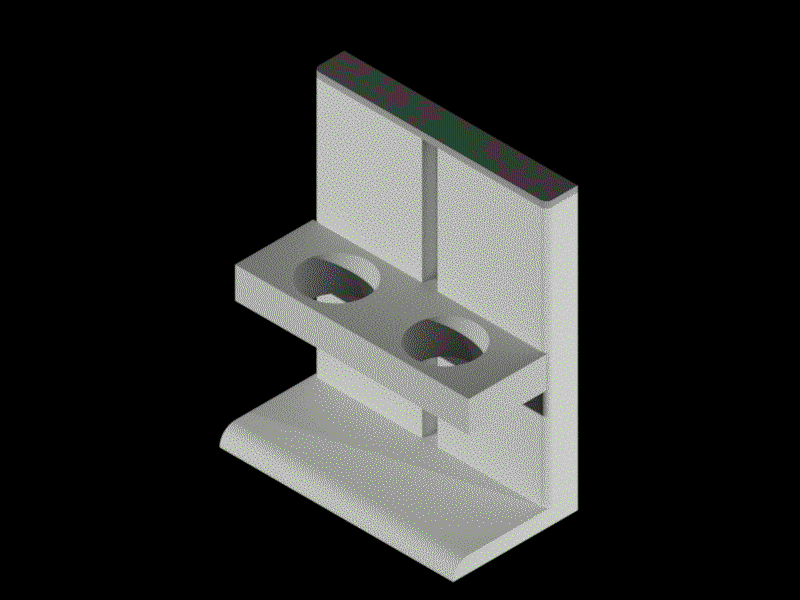
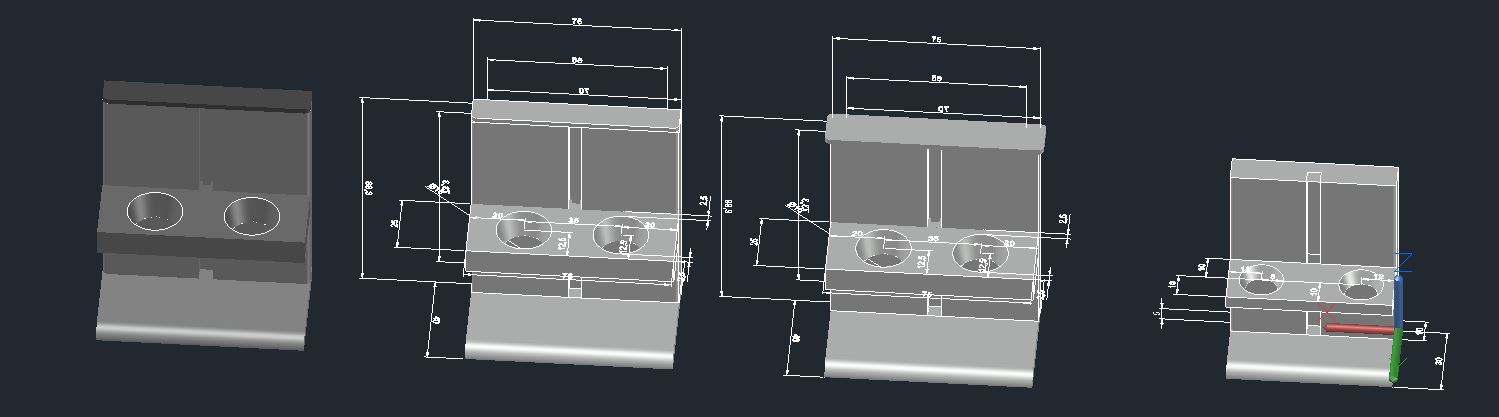
However, I still had the opportunity to design models for my business plan idea. This required the development of iterations of models throughout this semester to create an automatic bowl tray for dogs, designed to be remote controlled for height adjustment. I have named the product the Auto Animal Aider, designed to assist humans and dogs with mobility issues. This was made in AutoCAD to continue in Fusion 360 to show how it would work and have an animation to show the individual parts and how it would move, but time constraints and multiple other factors resulted in just using AutoCAD. The evolution of design is shown by the different models produced during the building process, rather than a formal timeline due to the pressure of having to balance time between projects.
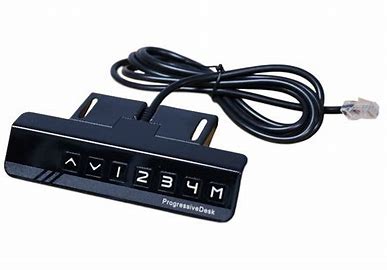
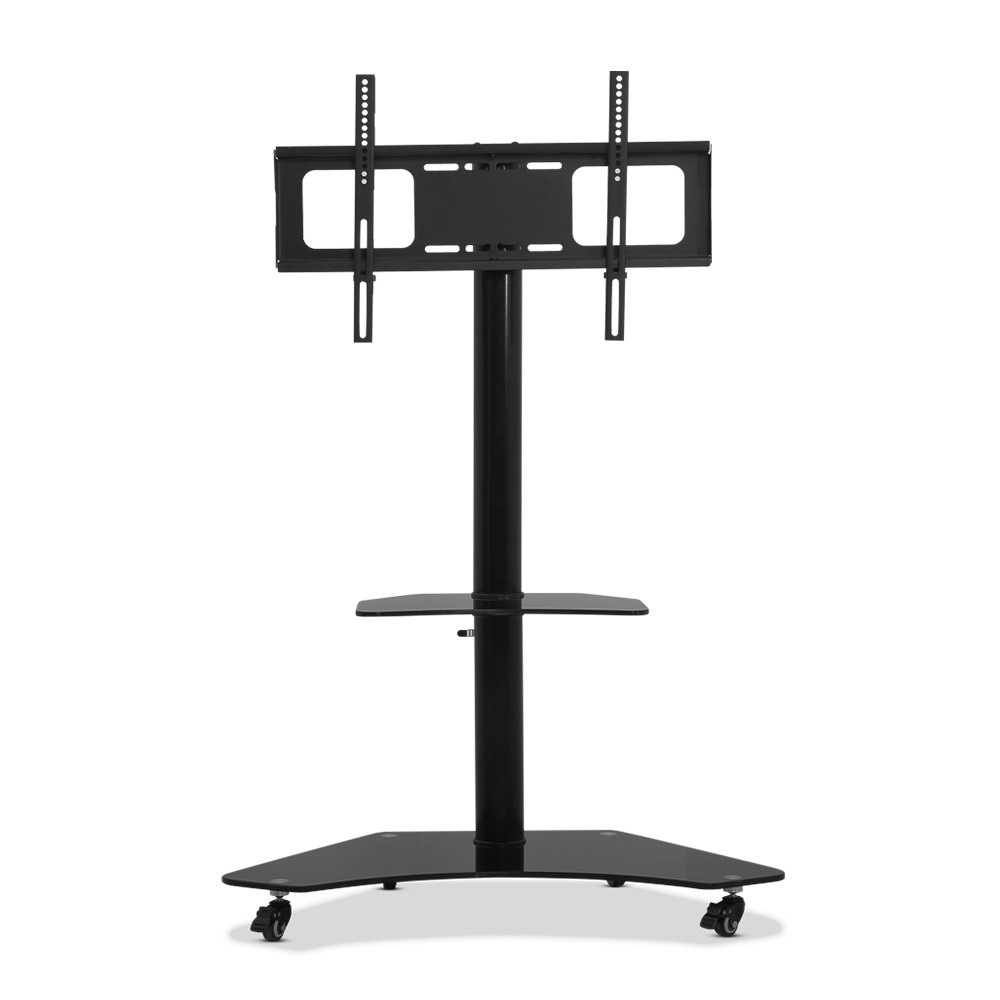
Looking at the model now there are a lot of changes I can still think of or improve upon, but as previously stated time was not on my side. There are models I can take inspiration from to make the design cheaper and environmentally friendly that which would make the production time faster and the initial price cheaper. This is from researching raised tv stands that are placed in beds to make the design thinner and to make the stand easier to operate by having a built in remote control system that is made to the specific heights of the dogs and humans.
I am planning on returning to this idea in the future to see what can be made and to continue this in fusion.
Background to this project
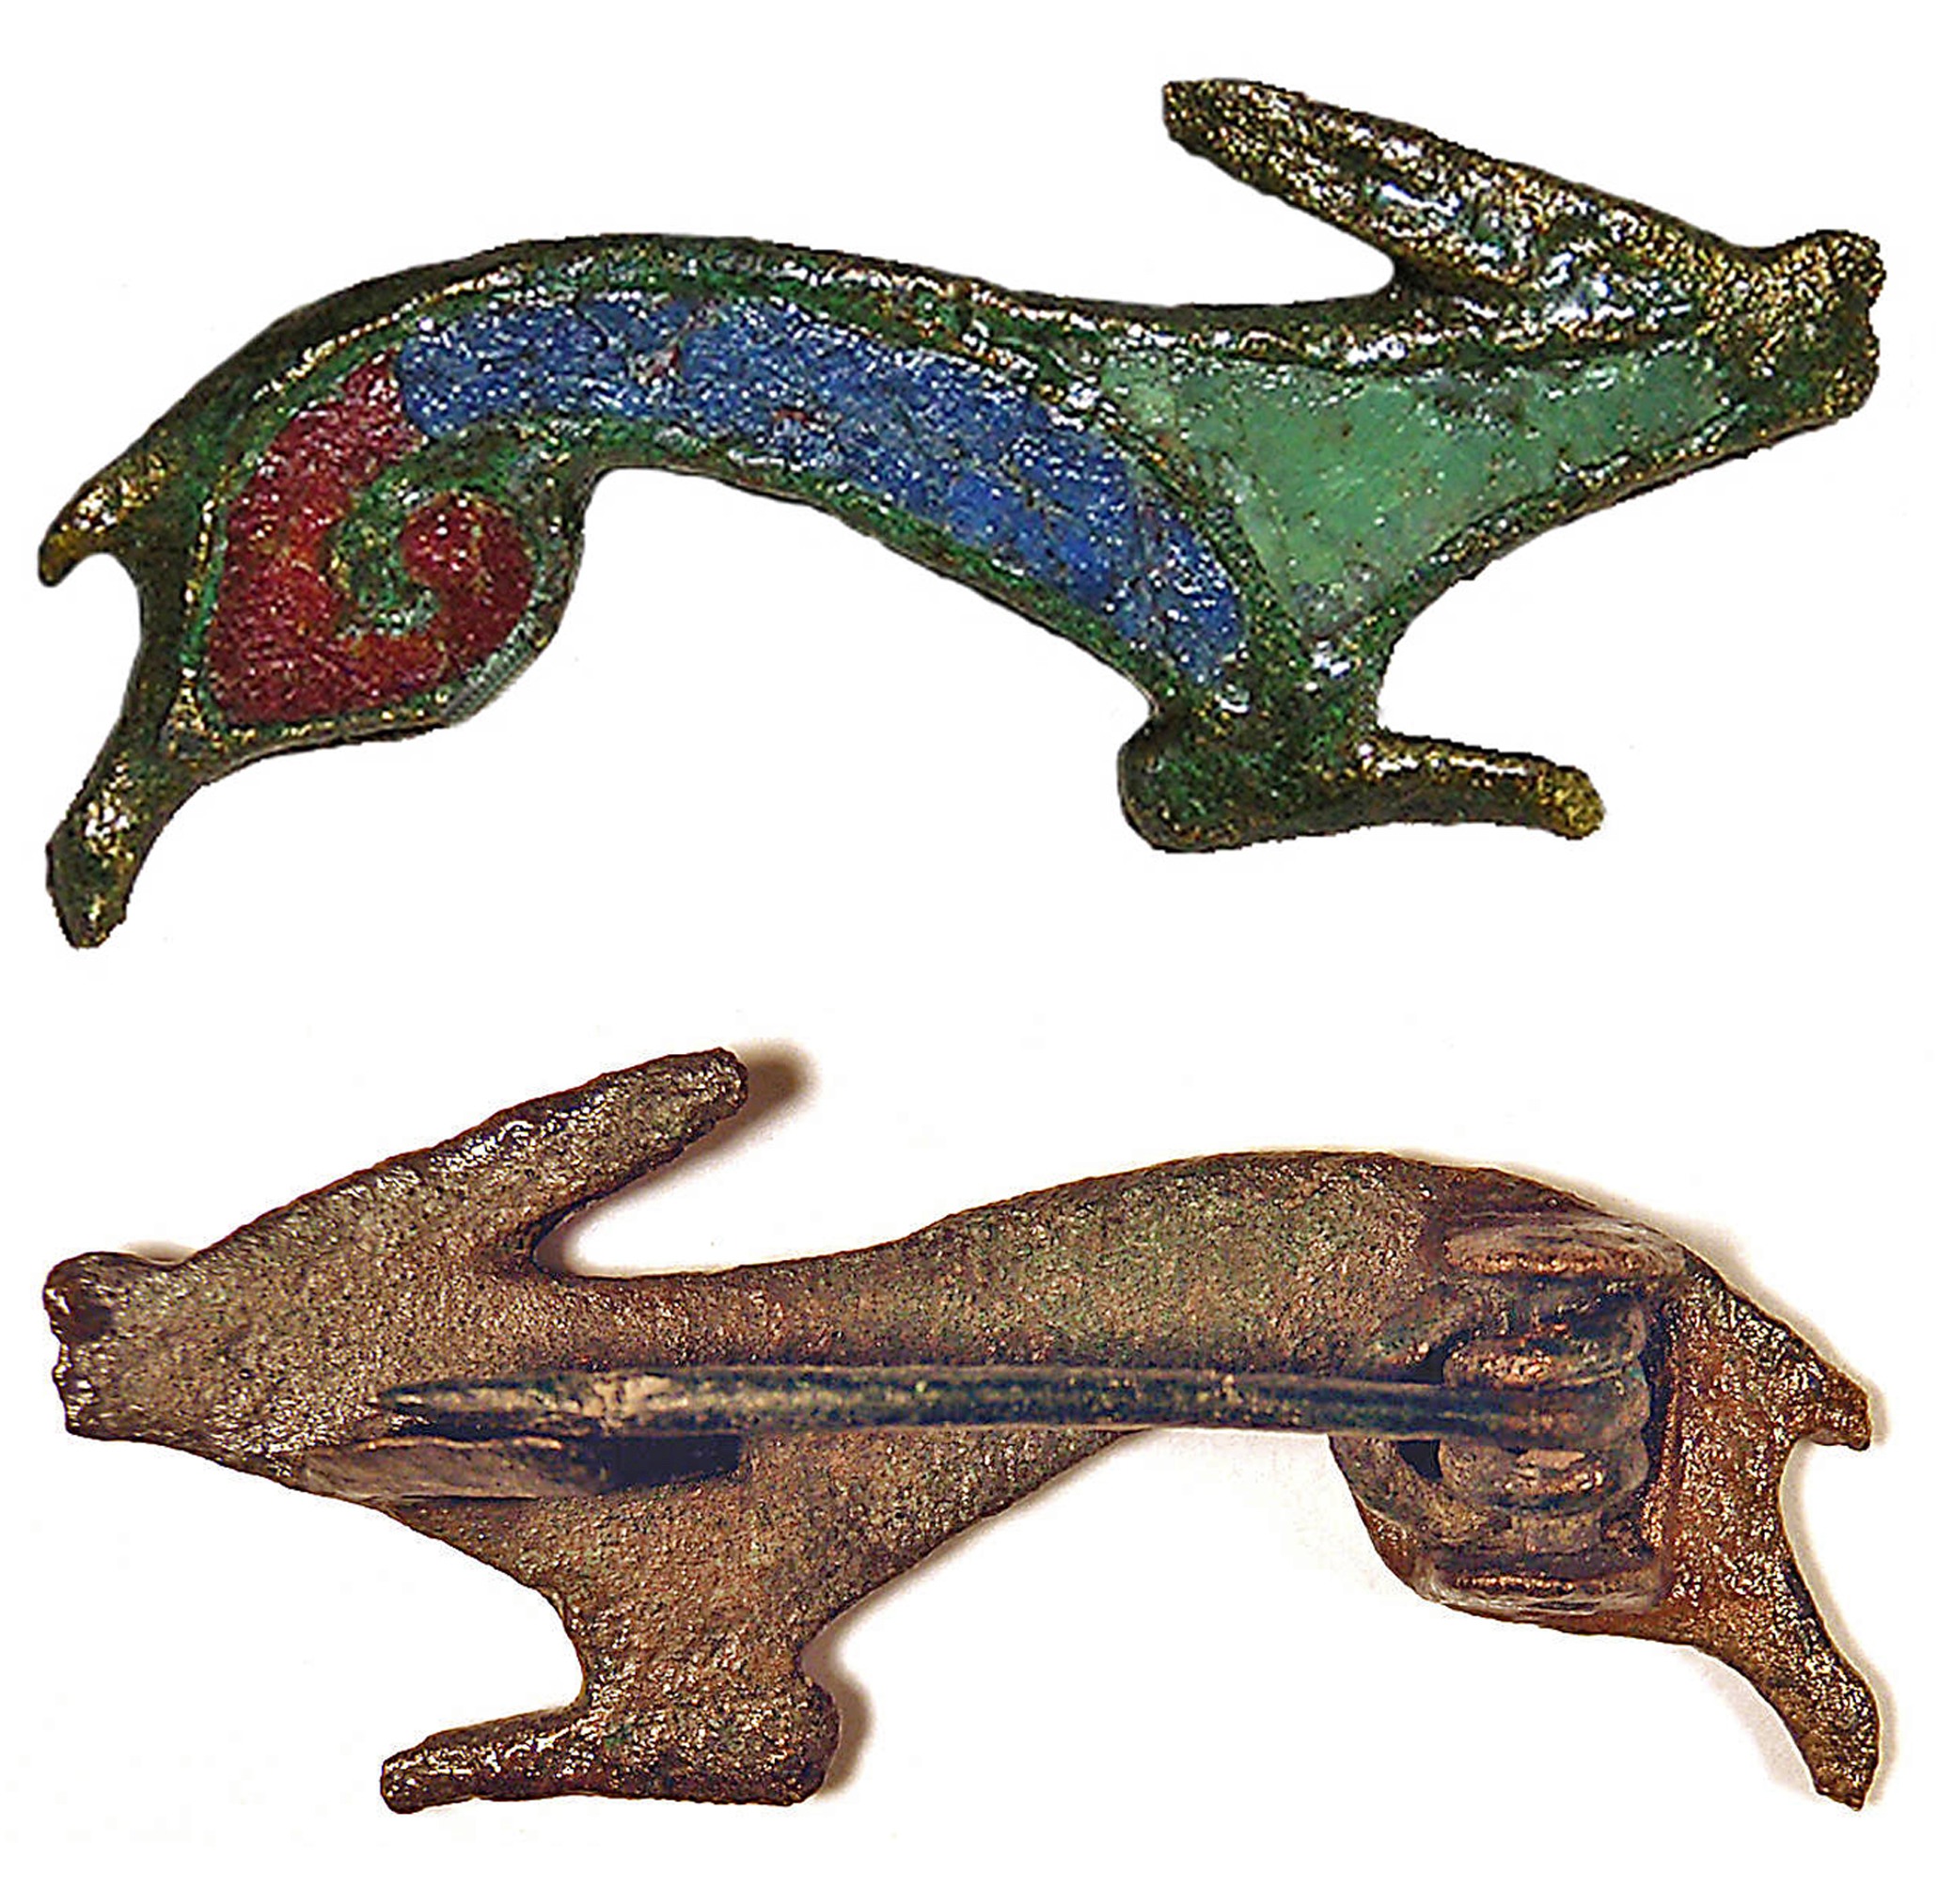
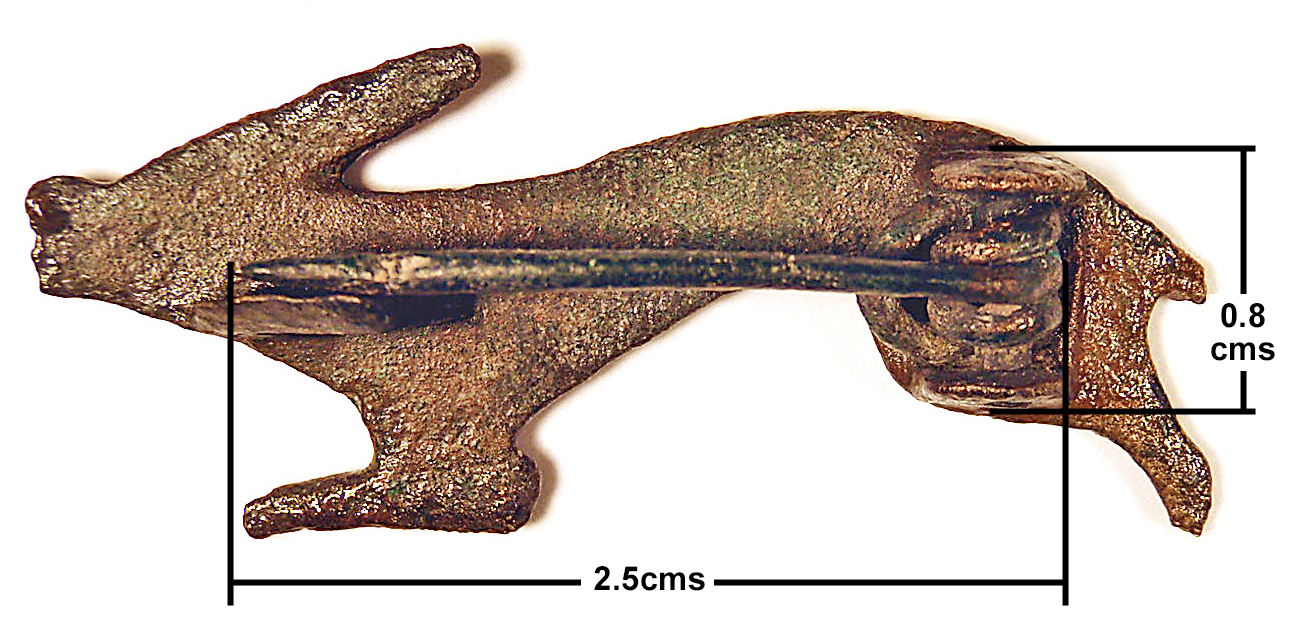
I chose to work again with the Earth Museum in my final year, this time on an artefact from the Isle of Wight before 1066. I chose "The Running Hare Brooch" as a good subject for effective modelling.
From information provided, it was originally created by a Roman jeweller. In Roman times, the hare was sacred and associated with the moon. This brooch was actually retrieved from an Anglo-Saxon grave.
The brooch is made of bronze, shaped as a hare running, and has 3 enamelled (coloured glass) pieces, in red, blue and green.
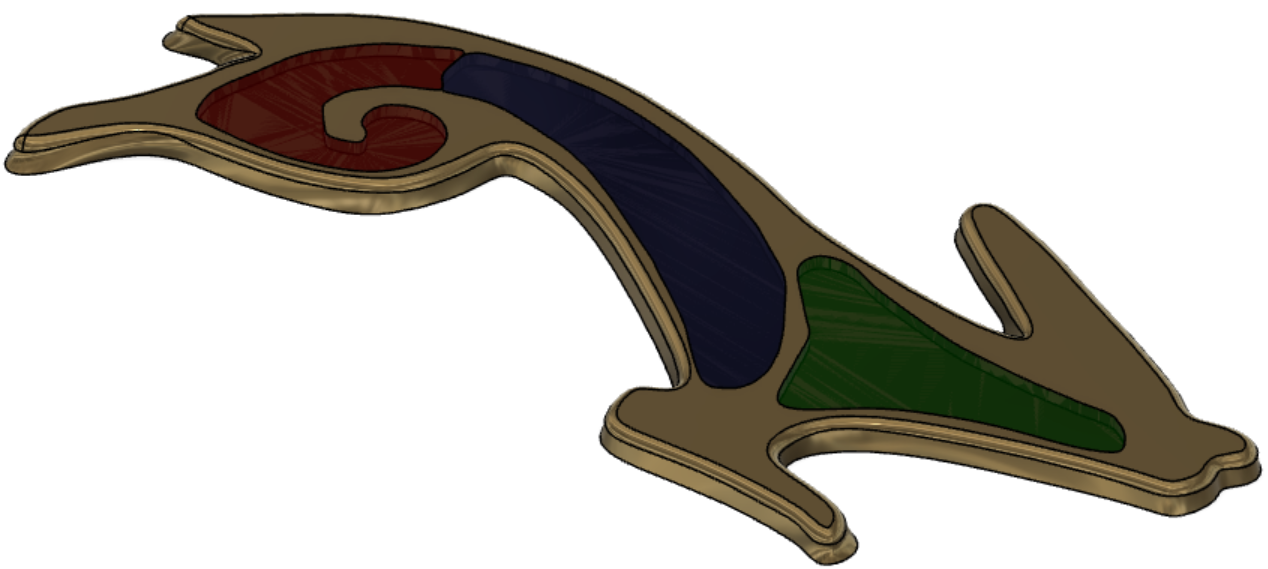
I chose to recreate the Running Hare Brooch as a 3-D model using Fusion 360 for creating the model, which would enable me to become more familiar with the software.
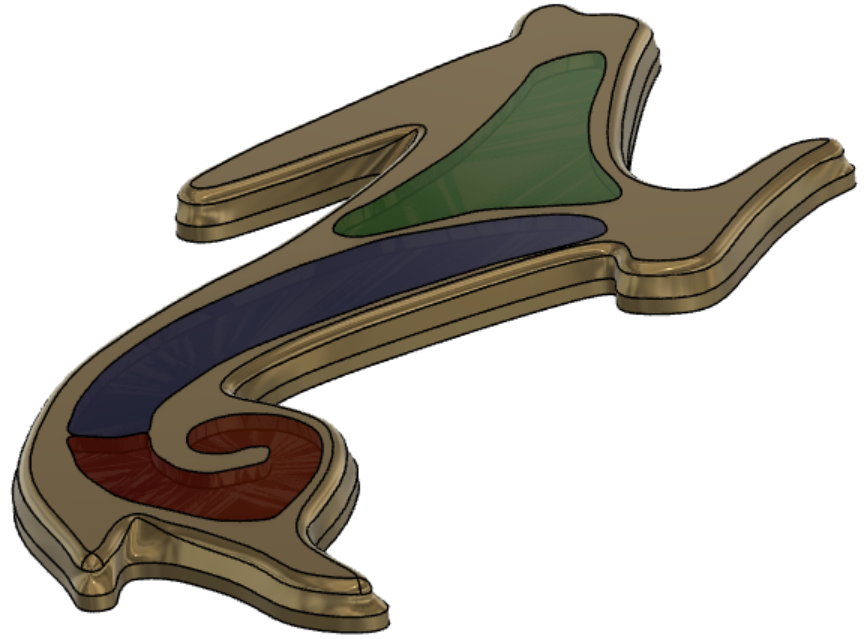
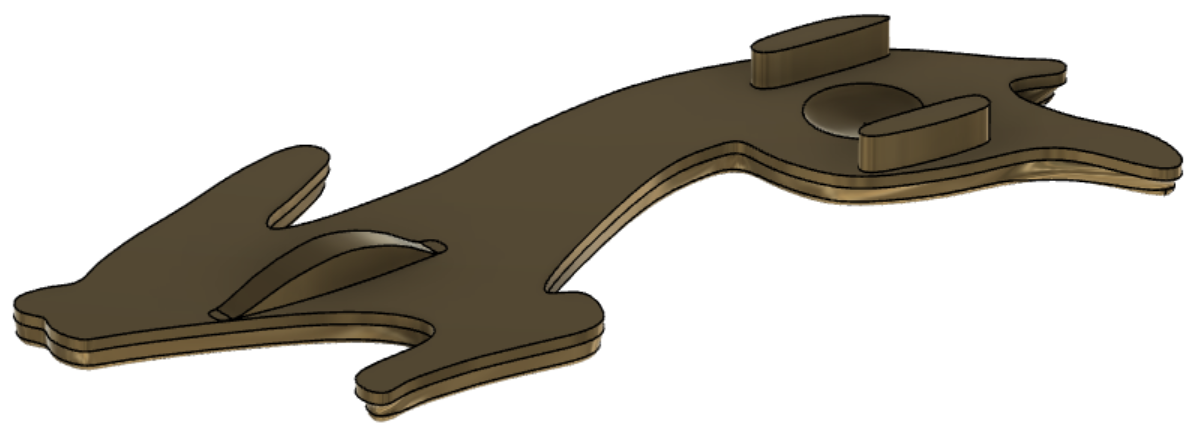
I developed the outline of the brooch, followed by the glass. I used spline for the edges and curves for the brooch. The next stage was to use extrude for the bronze and the glass to the correct measurements. Then it was fillet to the edges for the curvature of the design.
As I had created the design with separate pieces this meant that trying to fillet the edges could not be possible. I was then told by a fellow student that I should re-start the design which meant I could then use the fillet tool with the result that the detail for the brooch could be completed easier. I lowered the height and used the spline tool to create the top and the used the loft tool to create the slopes in the edges. Once this was complete the last step was the to finish with the fillet.
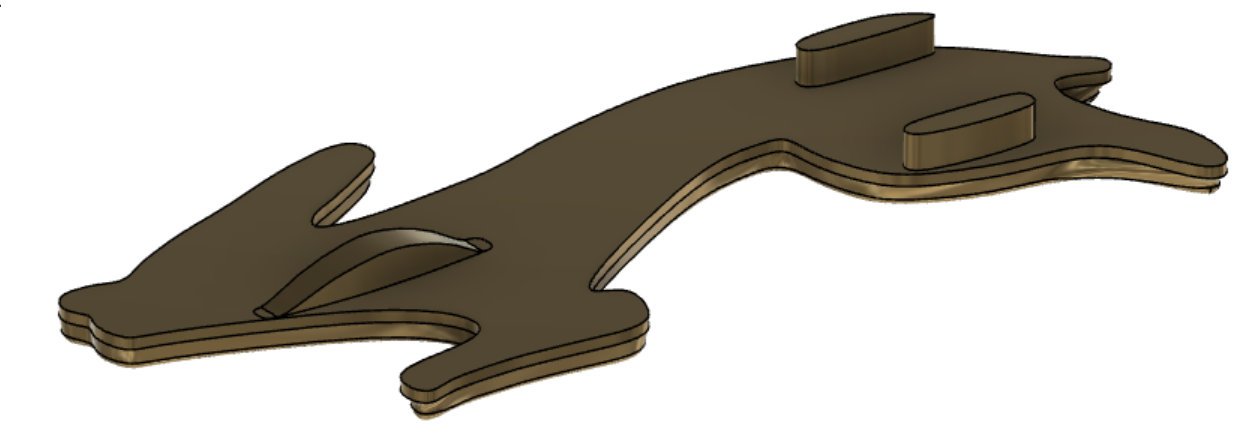
After this I added an extra few centimetres of extrude on the back to give more thickness to the piece.
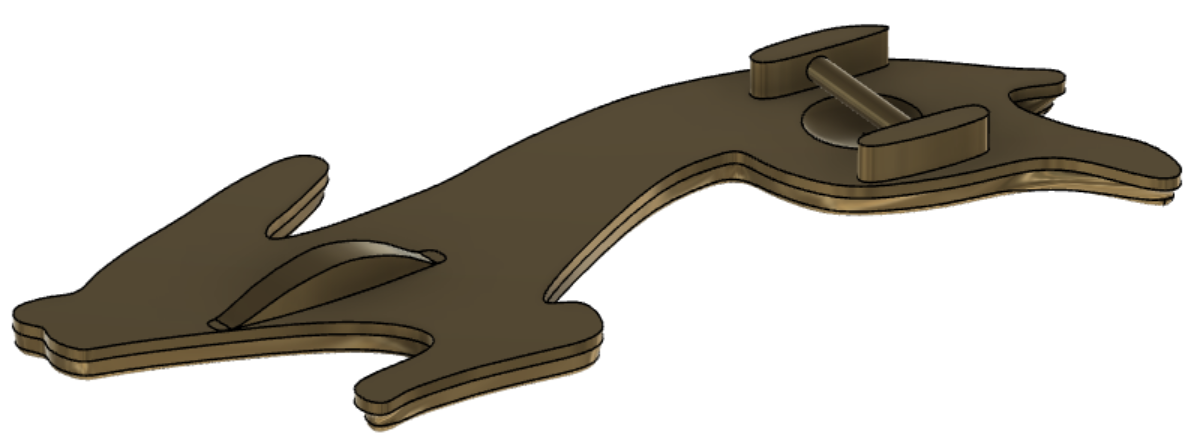
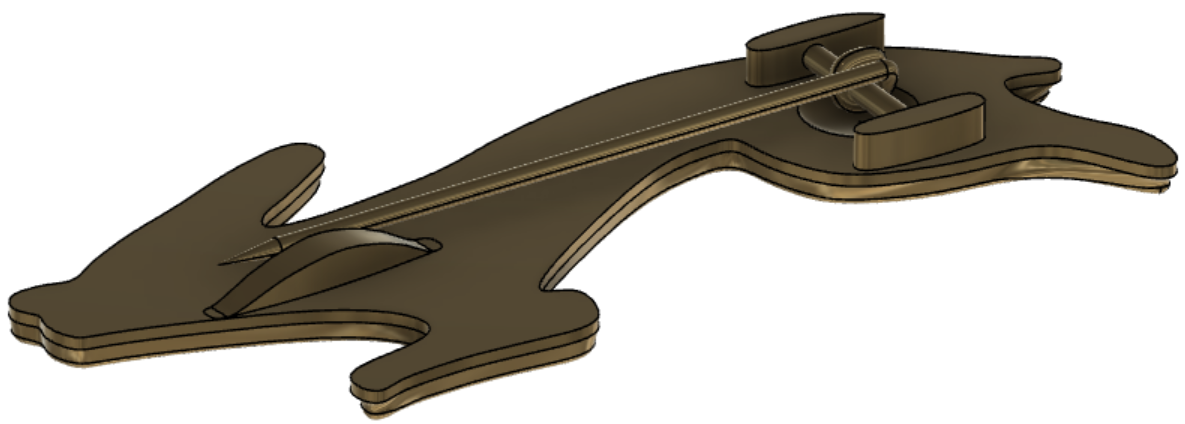
There were issues with creating the clasp and pin at the back of the brooch as the original photo was a bit unclear and there was no template or detail for that part. I represented what appeared to be a concave area under where the pin hinge was around the hip area. This resulted in multiple attempts in getting the right heights, weights and depth for the pin. Over time I decided to use a modern style of the pin as I could not see how the pin can be managed in fusion. With this the model is completed.
At the end of the project I see that I need to contact Janet as not all the measurements were supplied to me to make the 3D model of the brooch. To get this far I had to guess the thickness of the piece. Not only would this improve the accuracy of the model, it will also allow it to be produced on a 3D printer.